Ten Common Mistakes Beginner Blacksmiths Make (and How to Fix Them)
Every beginner burns a piece of steel. It turns a colour that looks almost white, throws sparks of its own, and comes out of the fire with a surface like a crumbled biscuit. The first time it happens you feel like you have broken something. You have, in a small way, but the lesson is worth more than the steel. Most of the mistakes that slow beginners down are not matters of talent. They are habits, and habits can be changed in an afternoon.
Overheating the Steel
Yellow is a warning. White is a disaster. Mild steel forges comfortably in the orange range, roughly between a bright orange and a light yellow, and it needs no more heat than that. Push it further and the grain grows coarse, the surface oxidises badly, and the steel can burn: you will see tiny sparks coming off the work itself rather than the fire. Burnt steel cannot be fixed by hammering. It can only be cut off and thrown in the scrap bin.
The fix is mostly about light. A forge in full sunshine hides colour, so work in a dimmer corner or shade the fire with a board. Keep the work moving rather than leaving it parked in the hot spot while you plan the next step. If you are not actively shaping metal, the metal should not be in the fire.
Poor Hammer Control
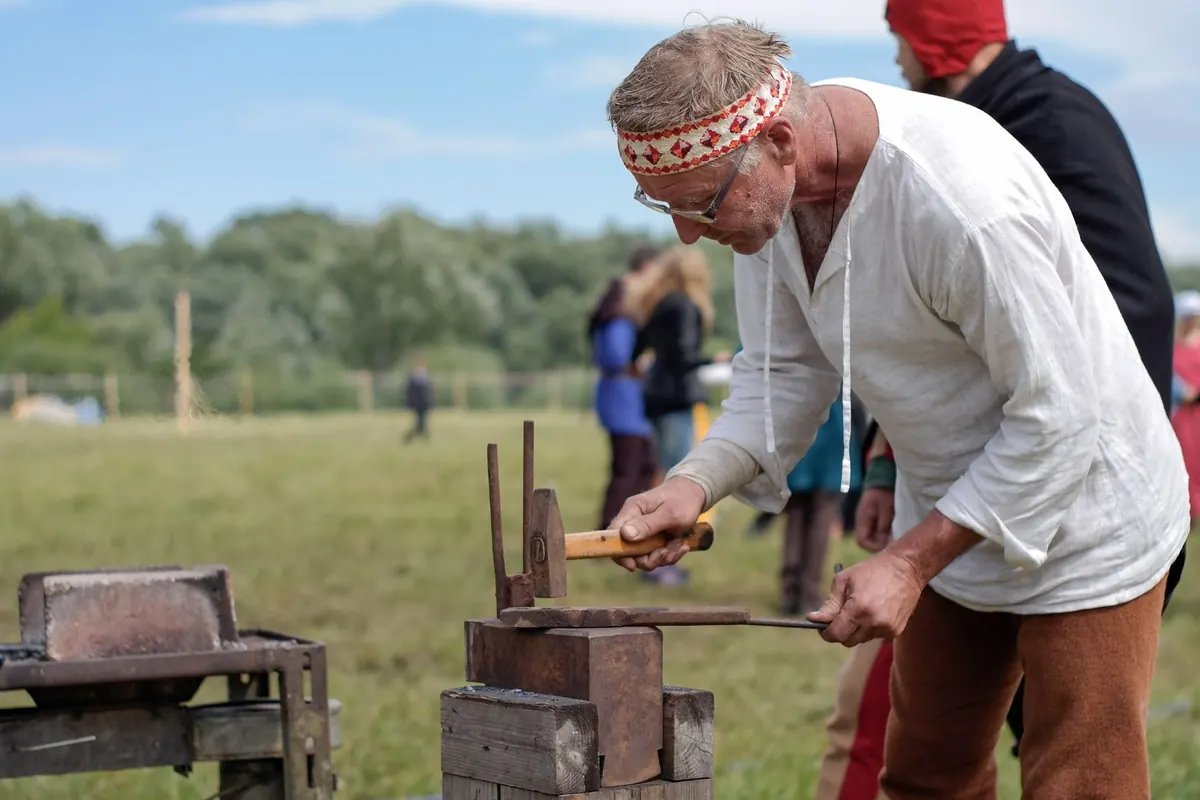
New smiths tend to grip the hammer like a drowning man grips a rope, then swing from the shoulder. Both cost you accuracy. A forge hammer is a pendulum, not a pickaxe. Grip it firmly but not tightly, with the thumb wrapped round the handle, and let the elbow do the hinging. The shoulder stays loose.
- Watch the spot on the anvil where you want the hammer to land, not the hammer head.
- Keep the face of the hammer flat on impact. A tilted blow leaves a deep, sharp-edged mark that is painful to remove later.
- Squeeze the handle at the moment of impact, then relax on the way up.
- Choose a hammer you can control for twenty minutes without your forearm burning. A 2lb hammer used well beats a 4lb hammer used badly.
- Practise by drawing out a simple taper in five or six heats, aiming for even, overlapping marks rather than a scatter of dents.
Skipping Normalising
Forging distorts the grain structure and leaves stresses inside the steel. Normalising relieves them. Heat the piece to just above its critical temperature, cool it in still air, and you get a finer, more predictable grain. For plain carbon steels, the critical point is where a magnet stops sticking, roughly a dull red shade; take it just a little past that, then set it aside to cool.
Beginners often skip this because the metal looks fine. Then a bend cracks, or a blade warps in the quench, and the cause is three steps back. Normalise after heavy forging, before final finishing, and always before hardening. Do not quench a piece and call it normalised. Quenching is a different process with a different purpose, and doing it by accident can harden a piece you wanted soft, or crack it outright.
Working Steel That Has Gone Cold
Below a dull red, steel stops behaving. It resists the hammer, sounds dull instead of ringing, and starts to crack at the edges. Thin sections cool fast, so a taper or a point may be too cold after two blows. Two rules help: work the thinnest sections first while the piece is hottest, and reheat the moment the colour drops to a dark red. Cold hammering also punishes your tools and your joints. The forge is not a race.
Bad Fire Management
A fire blasting white hot with a shallow bed of fuel is an oxidising fire. It scales the steel, wastes metal and eats the surface you spent ten minutes shaping. Feed the fire properly, keep a deep bed of coke, and use only as much air as the job needs. Clear clinker regularly; a clogged tuyere gives you an uneven hot spot and cold patches that make no sense until you dig it out.
Keep the work in the sweet spot, the zone just above the air inlet where the heat is even. And a safety point worth repeating: never forge galvanised, plated or painted steel without stripping it first. Zinc fumes are genuinely harmful. Good ventilation, eye protection and gloves matter every session, not just on the days things go wrong.
Fighting the Anvil
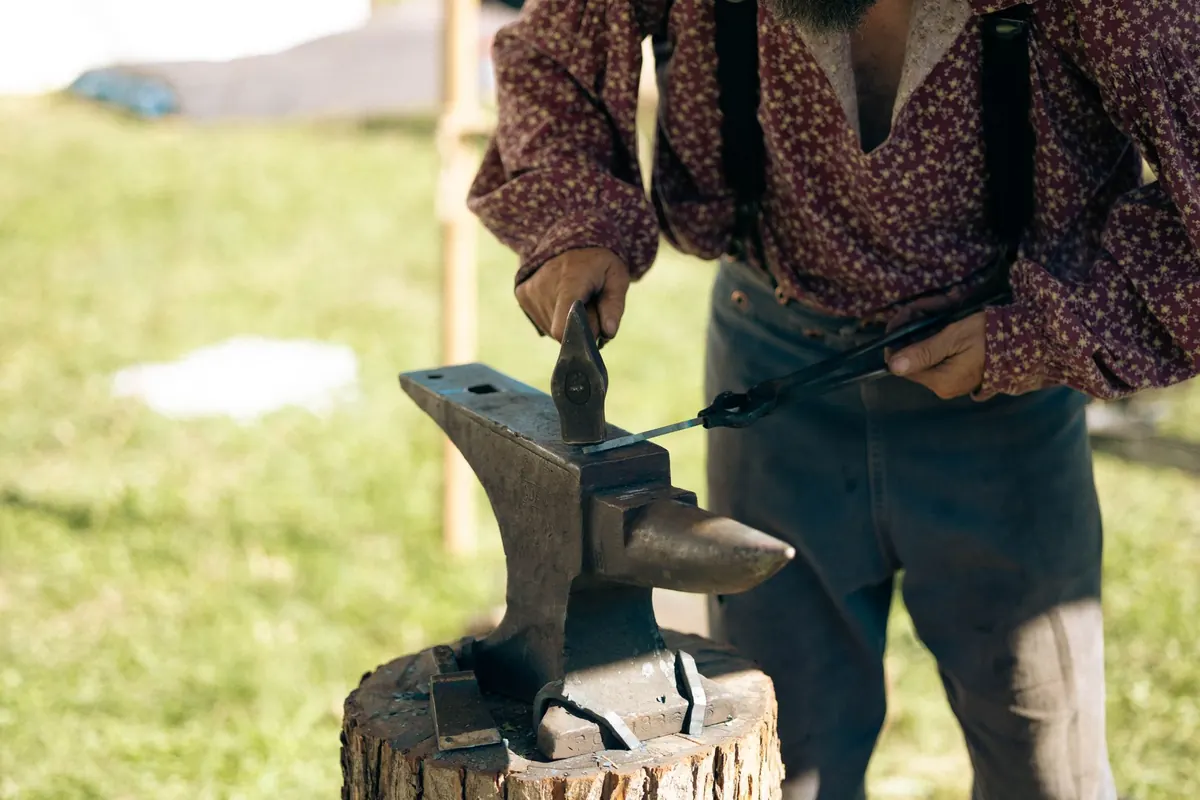
Set the anvil so its face sits at roughly knuckle height when you stand relaxed beside it. Too high and you lose power; too low and you round your back. Stand close, feet apart, and work over the sweet spot between horn and heel rather than the dead centre or the edges. Check your tongs, too. Tongs that do not fit the stock will drop hot metal, often onto your boots or your neighbour's.
Chasing the Finish Before the Form
It is tempting to polish a piece before the shape is right. Do not. Establish tapers, shoulders and curves first, then clean up with files and a wire brush as you go. Hammer marks left in the hope that a grinder will remove them usually survive into the finished piece, thinner and uglier than before. Steel only moves so far, so think about where the material needs to be in the final object before you start stretching it out.
Fixing All of These at Once
You do not need to remember ten separate lessons. Run through this list at the start of each session and most of them take care of themselves.
- Check your light so you can read colour accurately.
- Check the fire, clear clinker, set a sensible blast.
- Heat only what you are about to work on.
- Grip loose, swing from the elbow, watch the anvil.
- Reheat at dark red, not at black.
- Leave final bends and clean-up for after a normalising cycle.
- Plan the sequence before you pick up the tongs.
Pick one habit a week and give it your attention. That is how the burnt steel, the glancing blows and the cracked scrolls quietly stop happening, and how your work starts to look like the pieces you imagined in the first place.